


Table of Contents
- Are Electric Dog Nail Grinders Safe? The Short Answer
- Dog Nail Grinder vs Clippers: Which Is Safer?
- How to Use a Dog Nail Grinder: Step-by-Step Safety Protocol
- How to Get a Dog Used to Nail Grinding
- Noise, Vibration, and Sensitive Paws: Managing Pet Anxiety
- How Often to Grind Dog Nails (and How Short Is Too Short)
- Long Hair, Dark Nails, and Other Risks to Watch
- When Not to Use a Grinder
- Frequently Asked Questions
Last Updated: October 18, 2026
Are Electric Dog Nail Grinders Safe? The Short Answer
Yes, electric dog nail grinders are safe when you use them correctly.
Most nail injuries at home come from taking off too much at once. A grinder makes that mistake harder: you can stop at any second, check your work, and start again.
A dog nail grinder is a small rotary tool with a sanding band that files the nail down gradually.

But safe does not mean risk-free. Heat, noise, and a nervous dog all matter.
Dog Nail Grinder vs Clippers: Which Is Safer?
For most owners, a grinder is the safer choice, mainly because it removes material slowly. Clippers cut in one motion.
Grinders have their own trade-offs:
- Less risk of a deep cut. You sand in small passes and check between each one.
- Smoother finish. No sharp edges left behind, which means less snagging on carpet.
- More noise. The motor hums, and some dogs dislike the sound at first.
Clippers still win in a few cases: very thick nails, a dog that will not tolerate sound, or a quick touch-up.
Grinders are gentler on the nail; clippers are faster. For anxious owners, the grinder gives you more chances to stop.
How to Use a Dog Nail Grinder: Step-by-Step Safety Protocol
Start with a calm dog, good lighting, and short passes. The routine takes a few minutes per paw once your dog is used to it. Follow this sequence every session until it becomes habit.
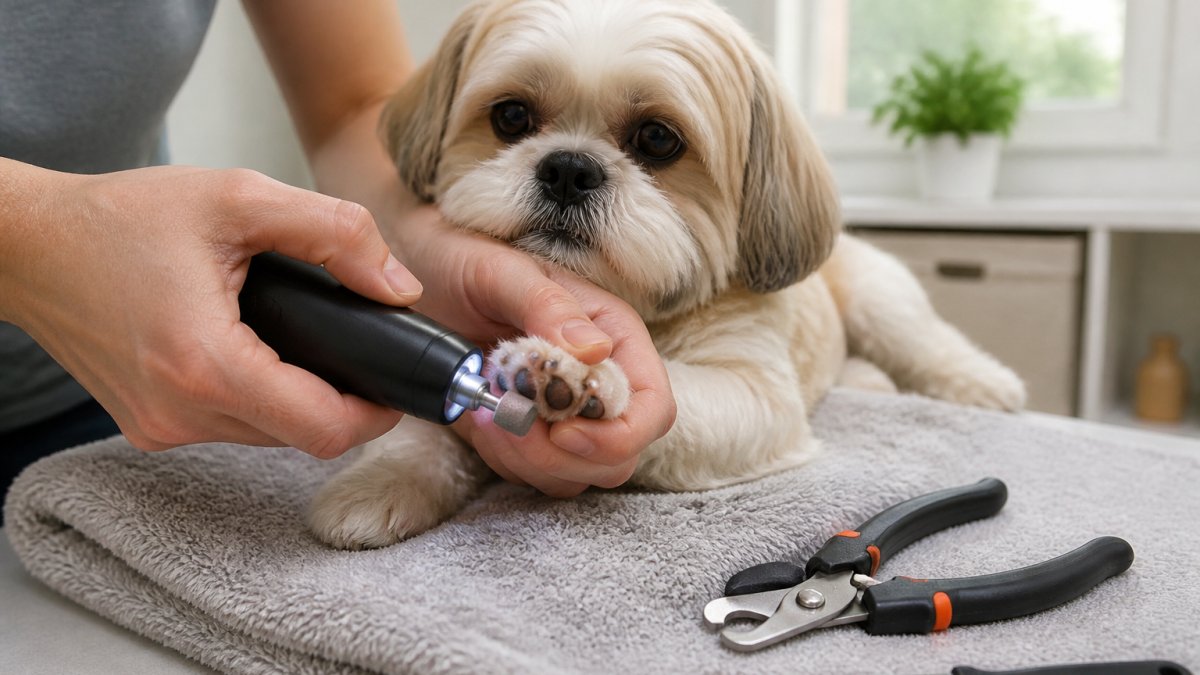
Before You Turn It On: The Pre-Flight Check
Set up before you start so you are not hunting for a treat with a spinning tool in your hand:
- A nonslip surface, like a towel or mat, so the paw does not slide
- Treats within reach and already broken into small pieces
- The grinder charged and the sanding band seated flush against the drum
Run the tool in the air for a second before touching a nail. Listen for a steady hum and watch for wobble. A loose, glazed, or uneven band chatters against the nail instead of filing smoothly, adding heat and raising the risk of a slip.
Our PawSmooth Pet Nail Grinder has a quieter motor and an LED light, which helps you see the nail while you work. Multiple speed settings and openings let you match the tool to your dog's size.
Step 1: Position the Paw and Find the Quick
Hold the paw from underneath, thumb on the pad and fingers supporting the top of the foot.
Look at the nail before you touch the tool. On light nails, the quick shows as a pink area inside the nail. Stop well before it.
Press gently on the nail. If your dog pulls away, you are close to sensitive tissue. That flinch is your earliest warning, and it comes before any visible sign.
Step 2: Grind in Short Intervals to Avoid Heat Buildup
Touch the spinning band to the nail for two to three seconds, then lift off. Repeat. Never hold the tool in one spot or press down to speed things up, pressure turns friction into heat.
Start at a low speed; higher speeds remove material faster, which you do not want while learning.
Test the nail against your wrist between passes. If it feels warm, give it a break, a hot nail risks discomfort and minor burns.
Step 3: Smooth the Edges and Stop at the Right Point
Angle the tool slightly to round the tip and remove sharp edges; one or two light passes usually do it. A rounded tip snags less on carpet and furniture than a flat-cut nail.
Stop when the nail sits just above the floor when your dog stands. You should hear no clicking on hard floors. If you hear clicking, a little more work is fine.
Step 4: Close Out the Session
Wipe the nail tips with a damp cloth, check each paw for caught fur or nicked skin, and give a final treat. Then brush nail dust off the band and check for hair wrapped around the drum, a clean band cuts cooler and more evenly next time.
If you hit the quick, apply styptic powder or cornstarch with light pressure and let your dog rest. Skip that nail for a week or two before grinding again.
How to Get a Dog Used to Nail Grinding
Skip desensitization and you will fight your dog every session. Do it in stages over a week or two.
Turn the grinder on across the room and feed treats. Do that for a few days. Then move it closer.
Signs your dog is ready for more:
- Stays in place when the tool is near
- Takes treats while it runs
- Does not pull the paw away
If your dog freezes or tries to leave, go back a step. Forcing it sets you back further than a slow start, so give this phase the time.
Noise, Vibration, and Sensitive Paws: Managing Pet Anxiety
Noise is the number one reason dogs resist grinders. The motor hums and vibrates against the paw, which can feel strange at first.
What helps:
- Pick a quieter tool. A low-noise motor makes the first sessions far easier.
- Wrap the paw gently. Hold the paw with a light grip, not a squeeze.
- Use a towel. Some dogs settle better with the paw resting on a soft surface.
If your dog has very sensitive paws or a history of nail injury, ask your vet before starting. A vet can also show you where the quick sits on your dog's specific nails.
How Often to Grind Dog Nails (and How Short Is Too Short)
Most dogs need nail care every three to four weeks. Dogs that walk on pavement a lot may stretch to five or six weeks; dogs mostly on grass or carpet need it closer to every three weeks.
How short is too short? The nail should clear the floor when your dog stands, with no clicking. That is the target.
Watch for these signs you have gone too far:
- A pink center visible on the tip
- Moisture or a dark dot at the tip
- Your dog licking the paw afterward
If you see any of these, stop and let the nail grow for a week or two. Nails grow back, and a short break costs you nothing.
| Situation | Frequency | Notes |
|---|---|---|
| Active dog on pavement | Every 4-6 weeks | Wear helps keep nails short |
| Mostly indoor or grass | Every 3-4 weeks | Less natural wear |
| Senior or low-activity dog | Every 3 weeks | Nails thicken with age |
| After a nail injury | Wait 1-2 weeks | Let the quick settle first |
Long Hair, Dark Nails, and Other Risks to Watch
Long-haired dogs bring one extra risk: fur catching in the rotating head. Pull the fur back before you start, or tuck it under a thin sock with the nail poking out. Check the band for caught hair between passes.
A few practical ways to secure long hair around the paw:
- The sock method. Slip a thin ankle sock over the paw, push the nail through the fabric, and grind only the exposed tip. This keeps feathering and toe tufts away from the band.
- Hair clips or soft bands. Clip the fur above the paw back with a coated clip, not a tight band that pinches skin.
- A damp hand. Lightly dampen the fur around the paw and smooth it back so it lies flat while you work.
Dark nails hide the quick, so work by feel and by watching the tip. Take smaller passes than on a light nail, use the fine opening, and stop at the first chalky oval rather than pushing for a shorter nail in one session.
Other risks worth knowing:
- Splintering. A worn sanding band can chip the nail instead of smoothing it. Replace it when it looks smooth or glazed.
- Over-trimming. More common when you rush. Short passes prevent it.
- Stress. A scared dog moves, and a moving dog is harder to work on safely.
Hygiene and Tool Care Between Sessions
A grinder lasts longer and cuts safer when you maintain it:
- After every session: brush nail dust off the band and drum, check for wrapped hair, and wipe the housing with a dry cloth.
- Every few sessions: inspect the band for glazing, flat spots, or tears, and replace it if the surface looks shiny or stops biting.
- Storage: keep the tool and spare bands in a dry place, away from moisture that can degrade the abrasive.
A clean, well-maintained grinder runs cooler, cuts more predictably, and is less likely to catch fur or slip, maintenance is part of safety, not an afterthought.
When Not to Use a Grinder
Put the grinder down in these cases:
- An open wound or cracked nail. Grinding pushes debris into the break.
- A recent quick injury. Wait until the nail heals.
- Extremely thick or overgrown nails. A vet may need to take the bulk off first.
There is no prize for finishing all four paws in one sitting. A safe session that covers two nails beats a rushed one that ends in a bleed.
Nail care at home gets easier with the right tool and a slow start. If you have been nervous about hurting your dog's paws, you are not alone, the fix is a quiet grinder plus a plan you can follow at your dog's pace.
Frequently Asked Questions
Are electric nail grinders safe for dogs?
Yes, when used correctly. Electric dog nail grinders file the nail down gradually instead of cutting it, so you have more control and are less likely to hit the quick in one snip. The main risks are heat buildup from holding the rotating head on one spot, catching long fur in the sanding band, and startling a nervous dog. Grinding in short intervals, keeping fur clear of the head, and introducing the tool slowly address all three. If your dog has an injury, infection, or a nail split near the nail bed, skip the grinder and call your vet.
Can a dog nail grinder burn my dog's nail?
It can if the sanding band stays in one place too long. Friction from the rotating head creates heat, and a hot nail is painful even without bleeding. Touch the nail after each pass; if it feels warm, stop and let it cool. Work in two-to-three second touches per nail, moving around the tip rather than pressing down. Light-colored nails show a pink center, which is the quick, so stop well before it. Dark nails hide the quick, so take thinner passes and check the tip after each one.
Is a dog nail grinder safer than clippers?
For many owners, yes. Clippers remove the nail in one cut, so a slip can take off too much and nick the quick. A grinder removes small amounts with each pass and leaves a smooth finish instead of rough edges. That said, clippers are faster on thick, overgrown nails and quieter for sound-sensitive dogs. The better choice depends on your dog: a nervous dog may tolerate a quiet grinder better, while a dog with very thick nails may need clippers first, then a grinder to smooth the edges.
How often should you grind a dog's nails?
Most dogs need nail care every two to four weeks. If you hear clicking on hard floors, the nails are already too long. Dogs that walk on pavement wear nails down faster, while senior dogs and indoor dogs may need more frequent sessions. Grinding a little every two weeks is easier on the dog than a long session once a month, because each pass is shorter and there is less heat. Pair it with a quick check of the nail length between sessions.